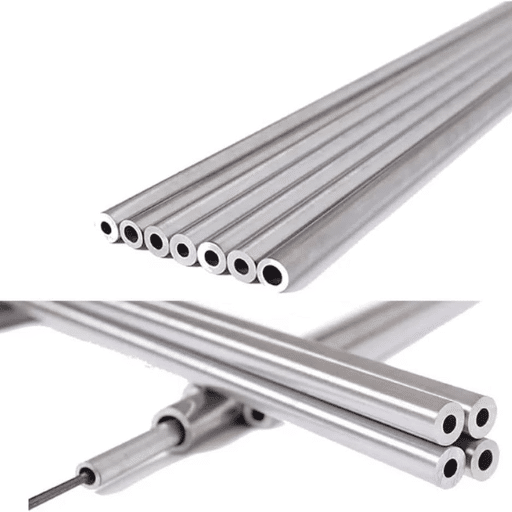
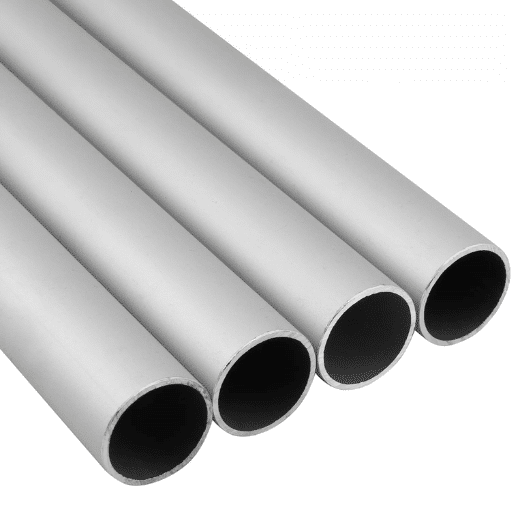
In construction, transportation, infrastructure, and other industries, welded steel pipes are very important as they are basic tools needed for industrial construction purposes. But getting a strong and effective weld is not always easy. Weld defects are common and these can limit the scope of Strength, safety, andlifeofagainst welded steel pipes. It is important to understand these defects to identify causes, take precautions, and guarantee that the welds meet a high standard. This article outlines some of the numerous defects, relates them to the most common impacts, and the best ways of detection in order to assist professionals in achieving better standards in their welding processes.
What are the common types of weld defects?
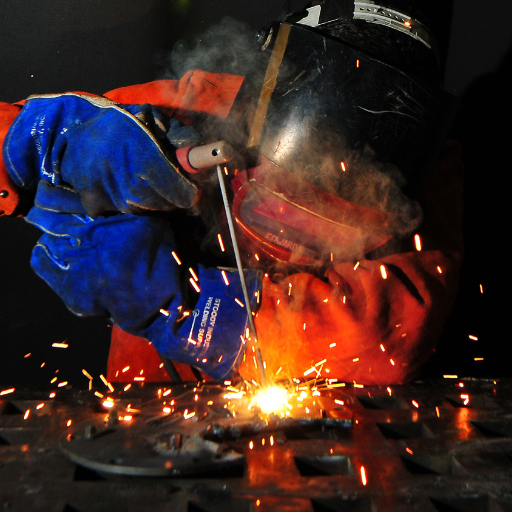
In the realm of welding defects, the most common ones include porosity, incomplete fusion, lack of penetration, cracks, and slag inclusions. Porosity is the condition in which gas is captured into the weld, together with voids that weaken the structure. Cracks could occur from fast cooling, leftover stress, and poor welding practices and techniques, which then damage structural integrity. Lack of penetration and incomplete fusion occur when the weld does not integrate sufficiently with the base metal, weakening the joint. Lastly, durability and reliability problems are caused by slag inclusions, which are non-metals held within the weld. These inclusions make the weld unreliable and lessen its durability. Making sure these shortcomings are dealt with is important for strong and reliable welding results.
Identifying common weld defects in welded steel pipe
Most of the time, one can find porosity, which is when a welder doesn’t completely fill in all the gas pockets, which can later on create issues for structural integrity. Another sign, and even worse, is a welder’s spatter, which pretty much means that the ‘voltaic’ zenlike state used during the welding process is faulty, which is directly proportional to the ineffective results at hand. Other vague signs of bad welding indicated by a welder’s incomplete fusion or even by not penetrating a weld bead may be attributed to a bad position a welder finds themself in, which, if paired with ineffective heating and matching, will lead to a very weak, unreliable joint. Welders are skilled people with their hands, so it goes without saying that these can mostly be avoided in the hands of good welders for stronger and reliable designs.
Types of weld defects and their characteristics
Every weld defect can be categorized into broad groups. These include porosities that have gas pockets trapped within the weld, which severely weaken the structural integrity, gas pockets, or cracks that form because of rapid cooling or stressful conditions. Another such defect is undercutting, where the base material is bored through and away, and weakens the joint’s strength. Also included are incomplete fusion and lack of penetrations, which occur when weld metal does not bond with base metals due to insufficient heat input or misalignment. Each defect requires due diligence of inspection to make sure that the industry standard and reliability performance for fixing the weld are met.
Common welding techniques leading to defects
I will tell you that knowing how common welding methods can result in defects is crucial for the creation of quality welds. Some important standard procedures, with possible explanations of how they can lead to deficiencies, are given below.
- Improper Heat Input
An improper amount of heat, whether too much or too little, can cause severe problems.Like warping, cracking, or even burn-through. Excessive heat input may lead to these outcomes. A lack of heat could result in incomplete chamfer fusion or a lack of penetration. It is, therefore, imperative to follow the prescribed heat settings for the specific type and thickness of material undergoing welding to avoid such scenarios.
- Incorrect Travel Speed
The quality of the weld is directly proportional to how fast the welding torch, or the electrode, is moved. Moving too fast may cause a lot of problems like undercutting, penetration, or overheating. Moving too slowly, on the other hand can result in excess weld buildup. The right pace, therefore, depends on your technique whether it is MIG, TIG or stick welding.
- Poor Electrode Angle and Position
As previously stated, it is important to maintain the torch or electrode with the correct angle for the weld’s integrity. Incorrect angles would often cause incomplete fusion or results in very weak weld beads. It is key to follow the correct parameters when it comes to angles like the aforementioned. Attention should be made with regard to the recommended angles for each welding method which typically lays between 10° to 15° for most processos.
- Contaminated Materials
The presence of dirt, oil, rust, and other foreign elements on the base material can result in pores and inclusions. These flaws are more than just skin deep, and they can affect the strength of the entire weld. To avoid problems of this nature, clean and prepare the surface thoroughly before attempting to weld.
- Improper Shielding Gas Flow (For Gas Shielded Processes)
Contaminants in the surrounding atmosphere are harmful to the weld pool, and shielding gases help to protect it. When the gas flow goes lower than normal, oxygen or nitrogen may be allowed to enter the shielding area and this will result in porosity or brittleness. If the flow is excessive, it may disturb the weld pool. Monitoring gas flow rates in accordance with the welding procedure specification (WPS) should be done regularly.
Prompt attention to these factors combined with sound practice will help minimize some of the most encountered welding errors. It is worth remembering that the time spent checking and altering process parameters is not only an exercise in best practice, it is a matter of safety, reliability, and effectiveness on every joint made.
What causes weld defects in welded structures?
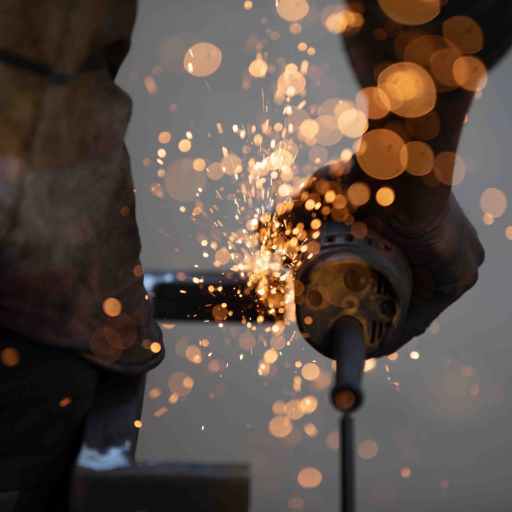
Many welds are accompanied by certain flaws that stem from poor workmanship, insufficient planning, or some departure from the normal welding processes. Contamination on the base materials, incorrect heat input, poor joint design, insufficient shielding gas, and even operator error, such as electrodes misplacement or inconsistent speed can cause weak welds, pores and cracks. Meticulous compliance with the welding instructions and adequate preparatory work are crucial elements in combating these shortcomings.
Examining the causes of welding defects
welding defects are a by-product of multiple factors that can be managed single-handedly with sufficient supervision. Contamination becomes a recurrent issue – any presence of oil, rust, or dirt on the base material will support weld strength deterioration. From what I’ve seen, applying excessive or inadequate heat is an input that can immensely influence the outcome, leading to distortion or incomplete fusion. Preparation of the joint has a part to play as well –poor joint design often leads to the creation of welding gaps, resulting in poorly constructed welds. Alongside these factors, I’ve always emphasized to my colleagues the need to ensure that gas shielding coverage is always on to avoid aspects of oxidation and porosity. The operator’s technique must also be considered an important feature; I have come across situations where incorrect electrode angles and inconsistent travel speed led to considerable gaps. In the final analysis, the process that will lead to greater efficiency in reducing defects includes thorough preparation of all aspects of the weld, following the welding procedure, and conducting active quality control inspections.
Incorrect welding patterns and their impact
Welds with incorrect patterns suffer from structural and aesthetic damage. These issues can escalate into more severe problems such as poor fusion, excessive spatter, shallow penetration, and irregular bead profile. Defects like these reduce the weld’s optimal strength capacity, which can result in hazardous situations requiring expensive corrective measures. Operators need to focus on ideal techniques with constant travel speed to reduce the chances of trouble later on.
Welding parameters that affect the strength of the weld
a multitude of interconnected factors equally contribute to the effective strength a weld can achieve. The welding current is the most important of all, and insufficient welding current can create weak connections to the weld, while excessive current will lead to burn-through. Voltage and its control of arc stability and penetration also have great importance. Travel speed is another critical factor: the weld will not fuse properly if it is too slow, and too fast travel will cause excessive heating, leading to defects and more complicated issues. The quality of a weld is also greatly influenced by electrode and shielding gas selection. When all of these are maintained and the welding procedure is followed with precision, a reliable and strong weld is achieved without fail.
How can weld defects be prevented?
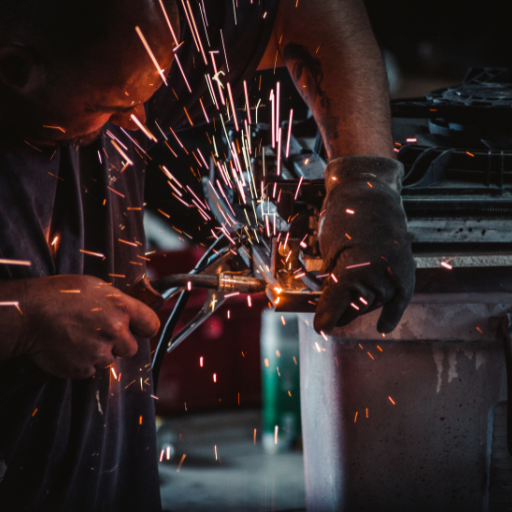
Welding defects are best avoided by using suitable cleaning methods, setting parameters like current, voltage, travel speed, and gas and electrode selection, along with maintenance. Cleaning the base materials for welding is important to ensure there are no contaminants. Also, ensuring that apparatuses are routinely serviced and operational procedures are followed while inspections are done for welding failures helps control welding problems and minimizes defects.
Correct welding procedures to avoid defects
Preparation control, alongside process control, needs to be attended to very carefully. In my years of experience working in the welding profession, I’ve learned that high-quality welds start with iterative control. Attention to detail is critical, and base materials need to be completely clean and free from contaminants before use. Furthermore, the welding set parameters pertaining to the specific job: current, voltage, and travel speed, need to be set to the optimum specifications. It is crucial that the most suitable electrode for shielding gas is picked, as it will determine the strength and integrity of the weld. Checking and maintaining the equipment is also critical; systems have to work perfectly, otherwise there will be problems. Ensuring there are no defects needs to be addressed at every level, just as compliance with welding procedure specifications (WPS) guarantees there is no variation in performance throughout the process. A rigid approach to these areas ensures there is minimal probability of defects occurring.
Welding technology advancements for defect reduction
The use of new technology in welding has improved accuracy and control, resulting in fewer defects. Automated welding systems, backup welds, and improved welding supervision equipment enable standardization and implementation of real-time adjustments during welding. Furthermore, some non-destructive tests, like ultrasonic and radiographic examination,s can detect defects without damaging the structure. With machine learning and predictive analytics, it is easier to foresee and counteract defects, thus making the welds more trustworthy and of a superior quality.
Proper welding techniques and practices
Good quality welding practices include preparation, execution, and control. Proper material selection, surface cleaning, and joint preparation is critical to forming strong bonds. Following SOPs, appropriate welding parameters, and skilled operators greatly aids in producing better outcomes. Inspections and safety measures increase the level of reliability of the welds.
What are the remedies for repairing weld defects?
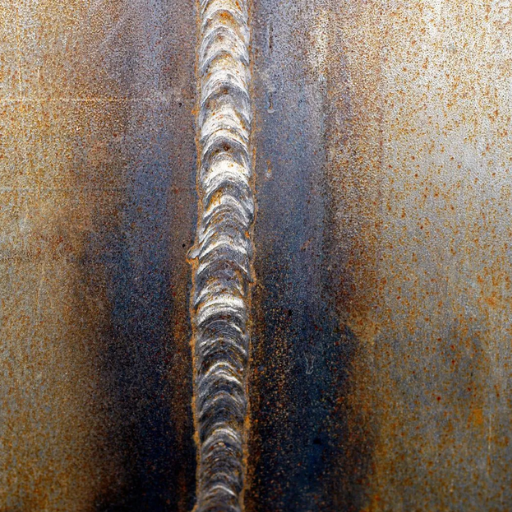
The very first step involves determining the type of defect that has occurred- porosity, cracks, undercut,t or lack of fusion, followed by an inspection process which includes visual inspection and non-destructive techniques. The defective portion is then removed, often through a process of either grinding or gouging, while checking the surface for clean and stable properties. Following such processes, appropriate techniques accompanied by proper parameters ought to be employed when rewelding the affected area to improve the quality of the joint’s integrity. Other factors bound to cause the defect, like the changes that are made to heat input or shielding gas, are taken care of. With such measures, unsafe and structurally deficient welds are systematically repaired with utmost precaution.
Common remedies for various weld discontinuities
When it comes to discussing weld discontinuities, it is essential to understand that every type of defect has a corresponding remedy for quality restoration of the weld and odor control. Applications of welding processes have been extensive in my education and practice, and these are some of the common approaches I suggest be considered for different defects of welds:
- Porosity
Metallurgical pores are formed when gas becomes trapped within the weld metal. To mitigate this issue, I start by measuring the flow rate on the shielding gas and checking the entire gas delivery system for any leaks. Another step that should be taken is to clean the base material to eliminate moisture, oil, and rust that could be present. If problems persist, modifying the welding parameters by increasing the heat input or lowering the welding speed frequently aids the situation.
- Cracks
One discontinuity that I believe is very serious and even takes precedence over others is the weld crack. First, the cracked part of the joint must be removed completely. This often results in some form of gouging or grinding. After it’s done, the remaining material will require some form of preheating before being re-welded and put together to avoid forming a crack, especially for crack-susceptible materials. Distributing stress across the size of the weld joint and covering the crush zone also aids in avoiding these problems.
- Undercut
Another issue that needs addressing is the groove that is cut on the base metal when welding. This phenomenon is called undercutting. To counteract this, I either reduce the travel speed or slow down the welding current. If an undercut already exists, it can be well by forming large amounts of weld metal and then leveling the surface via a grinder.
- Incomplete Fusion
Insufficient heat will cause a fusion to occur, incomplete. In order to avoid this, I recommend either increasing the input amperage or decreasing the travel speed to achieve better material melting. Careful reheating in the gaps to achieve complete fusion with the base material and filler metal attend unnecessary portions is vital.
- Overlap
Leakage is mostly the result of poor handling of the flame of the welding torch, or, for that matter, the electrode. In my case, I fix it by ensuring that the welding angle and operation are altered in such a way that they provide sufficient access without penetration into the base material too causing spillage. Any overlap that exists needs to be put back to the level before the weld is conducted.
- Slag Inclusion
Slag came from process weld basin pertaining inclusion because it may be night next to the weld. To get rid of this problem, I recommend thorough cleaning in caviling passes, a wire brush or chipping hammer is a must. If the inclusion was already wledded to there, it has to be localized ground to take off embedded bits rings environment until another weld pass is possible.
All of these remedies work best with some attention to detail and suitable advance action. If you go to the source of the discontinuity and work your way through the steps, you will get a dependable, sound weld.
Repair methods for specific types of weld defects
- Porosity:A contamination-free environment with suitable shielding gas and electrode together with surface cleaning must be ensured to properly re-weld after re-grinding or gouging the defective weld area.
- Cracking: Preheating before the weld can be done depending on the application to minimize stress, and appropriate filler material with controlled heat input will complete the re-weld after grinding out the crack completely.
- Incomplete Fusion: Cleaning and technique by which travel speed and electrode angle are obtained while re-welding will determine elimination of the weld defect.
- Undercut: Additional external weld material applied slowly will aid in filling the undercut defect area with minimum disturbance or heat input being introduced.
- Slag Inclusion: The section embedded with slag has to be ground out and during re-welding, thorough cleaning between passes and proper manipulation of the electrode aid in reaching the desired parameters.
Provided with these custom solutions, welders can attain structural integrity and optimal weld quality by methodically fixing each defect.
Improving the performance of the weld after correction
When it comes to improving the performance of a weld after correcting it, quality assurance checks and thorough inspections are steps that I rarely compromise on. Once I remediate the defects, I make sure to check the weld’s integrity using non-destructive testing techniques such as ultrasonic or radiographic testing to expose any other potential issues. Moreover, I transition my attention towards the post-weld treatments like stress-relieving or heat treatment processes, depending on the material, aiming to improve durability and reduce residual stresses. Proper surface finishing, like grinding or polishing, is also very important in maximizing the functionality and aesthetics of the weld. Based on my experience, providing consistency in the welding parameters during the correction and the follow-up steps, as well as sticking to the acceptable industry standards, tremendously strengthens the weld’s performance.
How do weld defects affect the overall strength of welded parts?
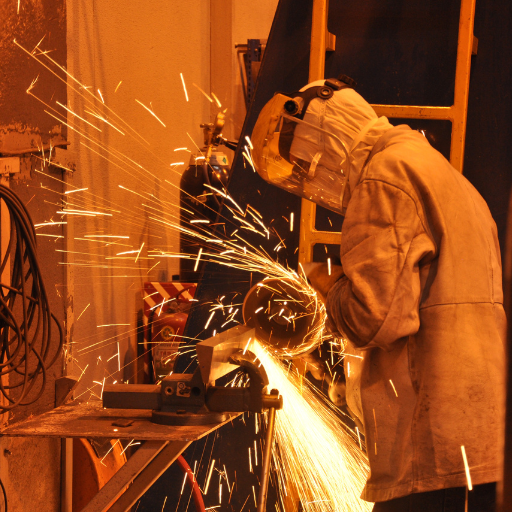
Weld defects may strain out the welded components’ strength and sturdiness due to pores, cracks, and other forms of imperfections from operational conditions. Neglecting these factors will lead to premature failure, particularly under cyclic or high-stress conditions. Cracks, porosity, and lack of fusion are imperfections that interrupt the continuity of the weld and need to be addressed urgently to avoid deterioration of structural integrity.
Impact of weld defects on the integrity of the weld joint
The most difficult aspect of managing welded joints is the defects that come with welding. Cracks or a lack of fusion can be considered weak points that are highly likely to fail in case sufficient stress is applied. I’ve witnessed how inclusions and pores not only diminish the aesthetic appeal, but also the functionality of the weld when it comes to sustaining loads. Eliminating defects using proper inspection and quality control is essential prior to, post, or even during the execution of the task to guarantee that the welded joint will be operationally dependable and safe.
Evaluating the strength of the weld in welded steel pipe
Assessing the quality of a welded seam steel pipe requires both nondestructive and destructive testing. Internal flaws can be detected using non-destructive methods like ultrasonic testing (UT) and radiographic testing (RT) because such methods do not destroy the integrity of the pipe. Destructive tests such as tensile and bend testing provide direct measures of mechanical strength and ductility, but are usually conducted on sample pieces. Other joint design features, WPS, compliance with industry parameters such as ASME and API codes, have an effect on weld strength, too. With the above methods implemented, the quality of the weld can be evaluated.
Consequences of improper welding on structural performance
poorly done welds can lead to a reduction in load-bearing capacity, make systems more prone to cracking, and ultimately cause failure in harsh weather or stressful conditions. I recall instances in which faulty weld penetration mixed with improper filler materials resulted in critical weaknesses that had to be repaired at great cost or posed safety risks. To avoid such problems, employ skilled welders and ensure that established welding standards are adhered to.
What inspection methods are used to identify weld defects?
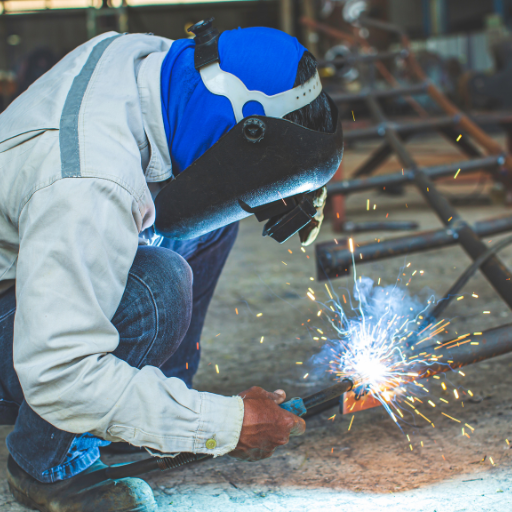
Selecting the right inspection technique for a project is more often than not influenced by its scope and particulars. Out of the multiple inspection methods for revealing defects in welding, visual examination is the least sophisticated. This is done by checking the surface of the weld to find some probable anomalies like cracks, pores, and undercuts. For more advanced inspection, a non-destructive testing (NDT) investigation is required. The more common of these NDTs are UT and RT, which are useful for internal defects such as voids and incomplete fusion. Surface and subsurface defects are also frequently and easily detected by MT and PT. These methods will help ensure accuracy, but they will also enhance the structural integrity of the product.
Non-destructive testing for detecting weld discontinuities
Non-destructive testing (NDT) is of utmost importance when it comes to safeguarding and ensuring the solidity of welded constructions. In my case, more advanced methods like ultrasonic or radiographic testing aid in exposing defects that can adversely affect structural performance. Surface methods such as magnetic particle and dye penetrant testing are quite helpful in the timely discovery of cracks and defects that can lead to costly failures. NDT offers value not only in the processes of quality control, but more so in the critical matter of guaranteeing that the welder has done their work on the component that requires removal with no negative consequences to the component that is undergoing the welding procedure.
Visual inspection techniques for weld quality assessment
While discussing visual inspection methods for weld quality evaluation, I often personally claim that it is perhaps the easiest way to ascertain the weld’s reliability. Based on my experience, some of the surface deficiencies such as cracks, porosity, undercutting, and many others which pose a threat to the overall reliability of the component can be detected through simple visual inspection.
Here is my directed approach to visual weld inspection, which involves certain parameters that are listed step-by-step.
- Surface Appearance: My first step is to check for obvious signs of discontinuity, such as cracks, burn-through, and weld spatter. If the weld has a smooth and even finish, it would suggest a healthy weld.
- Weld Size and Shape: The size of the weld bead must be checked as it is important to compliance with the design parameters. The size and the shape which includes the width and contour also tells me whether the weld is done in a uniform manner.
- Alignment: I examine the welded parts in detail to check whether they are aligned according to the design specification. Failure to align properly can give rise to stress raisers, which may induce failures.
- Undercut and Overlap: Some of these things are at the root of reduced strength of the weld fabrications. Undercut refers to the situation where some material has been removed from the base metal at the toe of a weld, and overlap is where there is too much filler metal on the surface surrounding the weld.
- Weld Cleaning: A clean weld indicates good skill and techniques and does not present defects or contaminants that are not easily seen. I make sure that the weld is not contaminated with oil, grease, or slag that may hinder the сommand of the weld.
Adequate lighting is one of the essentials for visual inspection along with some additional equipment, for instance, a weld gauge or a magnifying glass. Although it does not supersede more advanced testing techniques, it continues to play a crucial role in economical and effective evaluation of weld quality. This is a measure I frequently advocate for prior to progressing towards other non-destructive testing methods.
Advanced methods in welding inspection technology
Technological advancements in inspection techniques have greatly improved accuracy and precision in evaluating weld quality. Based on my working experience, ultrasonic testing (UT) and radiographic testing (RT) methods are very effective when it comes to internal defect assessment. Ultrasonic testing utilizes high-frequency sound waves to detect cracks, porosity, or inclusions, while X-ray or gamma-ray-based radiographic tests form pictures of the inside structure of the weld. Moreover, I find magnetic particle testing (MT) and dye penetrant testing (PT) extremely useful in non-ferromagnetic and non-porous materials surface defect examinations. These advanced methods not only improve safety and strength but also help avert expensive failures, making these technologies ubiquitous in modern welding inspection programs.
Reference
- What are the Common Defects for Welded Steel Pipes – Octal Steel
- Common Weld Defects in Welded Pipes and How to Avoid Them – Eastern Steels
- 16 Common Types of Welding Defects, Causes, and Prevention – Rapid Direct
Frequently Asked Questions (FAQs)
Q: What are the common types of weld defects in welded steel pipes?
A: Common types of weld defects include cracks, porosity, slag inclusions, lack of fusion, and undercut. Each of these defects can occur due to various factors within the weld zone, including improper welding processes and settings.
Q: How does excessive welding current affect weld quality?
A: Excessive welding current can lead to issues such as burn-through and distortion of the weld metal. This can also create a larger weld pool, which may result in deeper penetration but can also compromise the integrity of the weld bead.
Q: What is the lack of fusion in welding, and what causes it?
A: Lack of fusion occurs when the weld metal does not properly adhere to the base metal or to itself. Common causes include incorrect welding speed, insufficient heat input, and improper joint preparation.
Q: How can porosity in the weld area be prevented?
A: Porosity can be prevented by ensuring proper cleanliness of the base metals, controlling the shielding gas flow, and maintaining the right welding speed. Also, using the right type of flux for processes like flux-cored arc welding can help minimize this defect.
Q: What is the impact of welding speed on weld defects?
A: Welding speed directly affects the heat input and the cooling rate of the weld metal. Too fast a welding speed can cause a lack of fusion or weak welds, while too slow can lead to excessive heat and distortion. Finding the optimal welding speed is crucial for a desired weld.
Q: What are the main causes of cracks in welded joints?
A: Cracks can occur due to various defects such as high welding temperatures, rapid cooling rates, and improper filler material. The type of crack may vary, including hot cracks and cold cracks, each requiring specific causes and remedies.
Q: How does the welding process affect the quality of the weld surface?
A: The welding process, whether it’s arc welding, metal arc welding, or submerged arc welding, significantly influences the quality of the weld surface. Each process has its own parameters that can lead to defects if not properly controlled, affecting both aesthetic and structural integrity.
Q: What role does joint preparation play in reducing welding faults and defects?
A: Proper joint preparation is critical in reducing welding faults and defects. Ensuring clean edges and appropriate joint fit-up helps in achieving a good weld pool and promotes better fusion within the weld metal, ultimately leading to a stronger weld.
Q: What are the consequences of having defects along the weld toe?
A: Defects along the weld toe, such as an undercut, can significantly reduce the strength of the welded joint. These defects can act as stress risers, leading to premature failure under load conditions. Regular inspection and proper technique can mitigate these issues.

